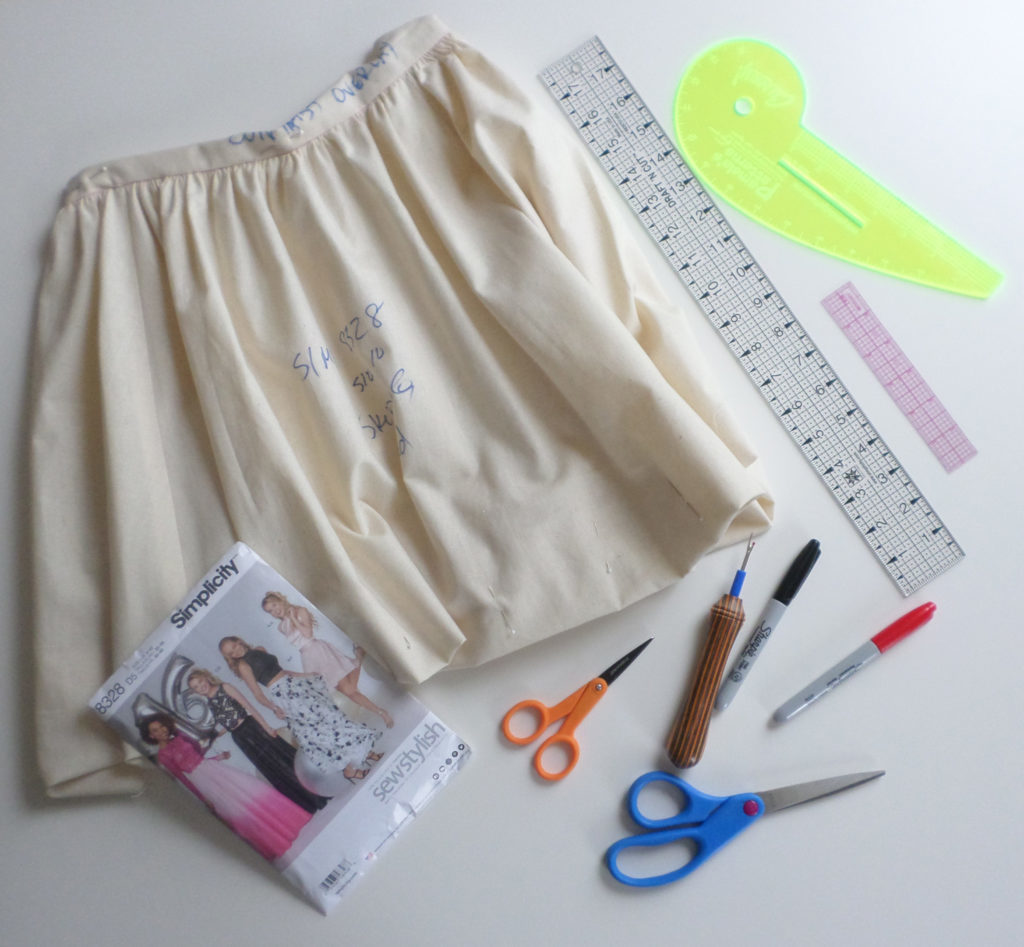
The key to getting a great fit with a sewing pattern is to make a test garment, or “muslin.” You try it on to get a real idea of how the finished garment will look on your figure. Then you pin or let out the muslin’s seams to enhance the fit. Watch our video, “How to Fit a Test Garment,” to see the process in action with Simplicity SewStylish 8328 on our model, Penelope.
Here, I’ll show you the next step: how I transferred the fit adjustments we made to Penelope’s muslin to the pattern pieces.
Some sewers use the adjusted muslin as a pattern. That is just fine and it works well for many. I suggest making the changes to the pattern, however, for two reasons.
- Too much handling can distort muslin fabric. You don’t want to mar the accuracy of the fitting adjustments you made.
- The pattern tissue is marked with some useful information that will help you sew the garment, such as notches and markings. Let’s retain that information by using the pattern.
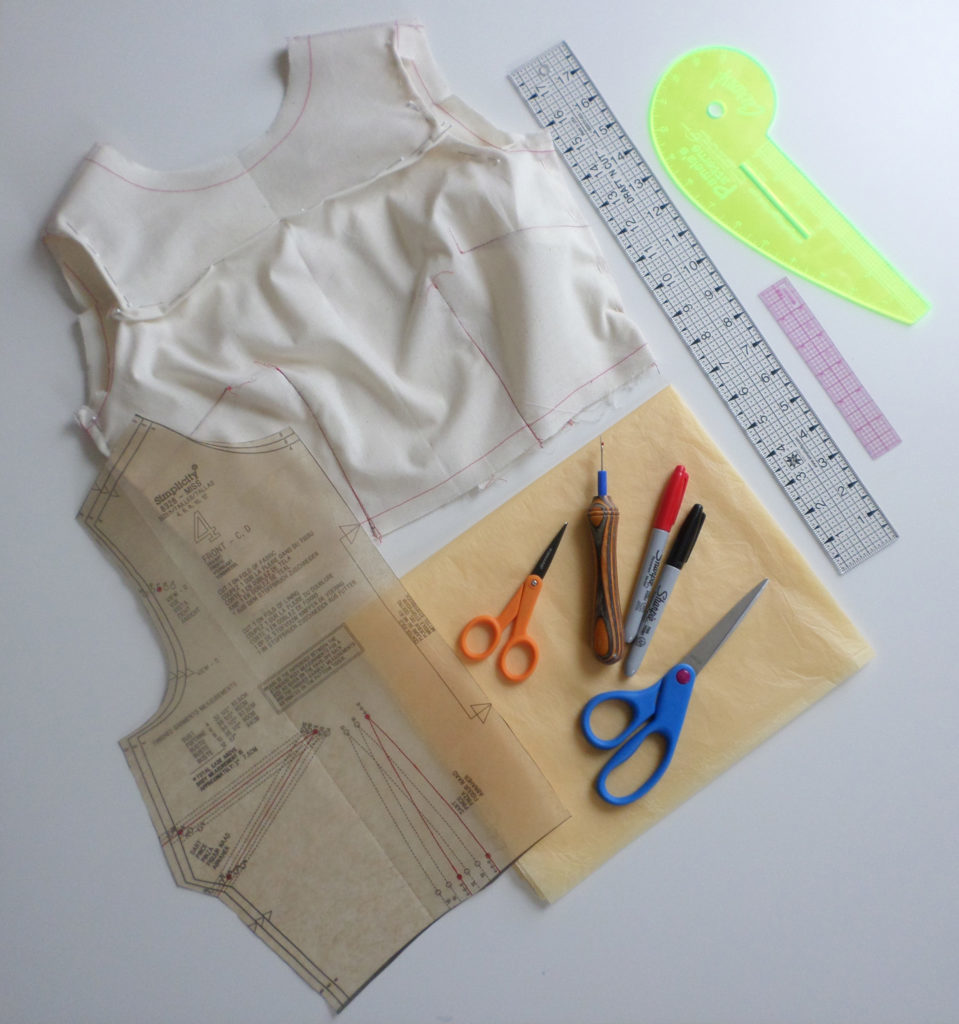
Gather your tools and supplies
You’ll need your pinned muslin, your pattern pieces, a red marker and a black marker, a seam ripper, a ruler or rulers (I keep a few handy – a 1-inch by 6-inch clear ruler, a 2-inch by 18-inch clear ruler, and a French curve), scissors (I use sharp embroidery scissors and paper scissors), and transparent tape.

Note: If you are adding length or circumference to a pattern, you will also need pattern paper to fill in your pattern.
You want to work on a clean worksurface with room for full pattern pieces.
