The key to getting a great fit with a sewing pattern is to make a test garment, or “muslin.” You try it on to get a real idea of how the finished garment will look on your figure. Then you pin or let out the muslin’s seams to enhance the fit. Watch our video, “How to Fit a Test Garment,” to see the process in action with Simplicity SewStylish 8328 on our model, Penelope.
Here, I’ll show you the next step: how I transferred the fit adjustments we made to Penelope’s muslin to the pattern pieces.
Some sewers use the adjusted muslin as a pattern. That is just fine and it works well for many. I suggest making the changes to the pattern, however, for two reasons.
- Too much handling can distort muslin fabric. You don’t want to mar the accuracy of the fitting adjustments you made.
- The pattern tissue is marked with some useful information that will help you sew the garment, such as notches and markings. Let’s retain that information by using the pattern.
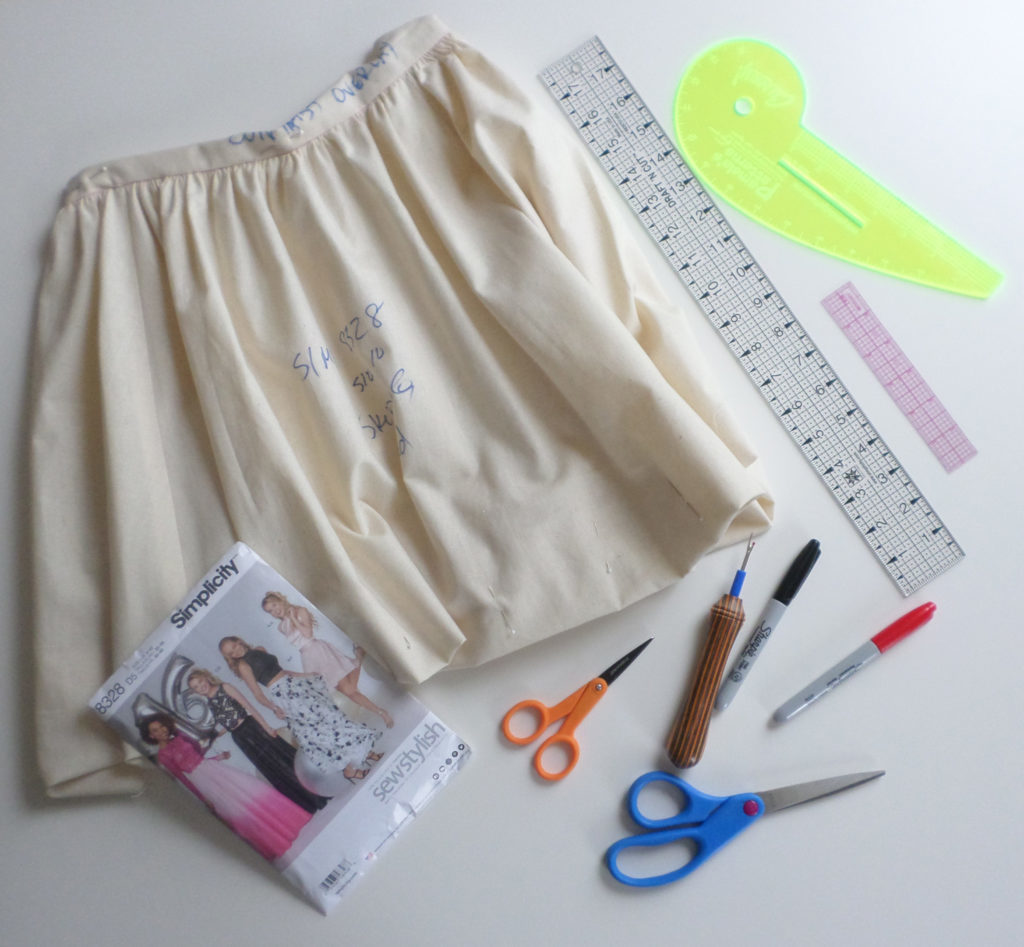
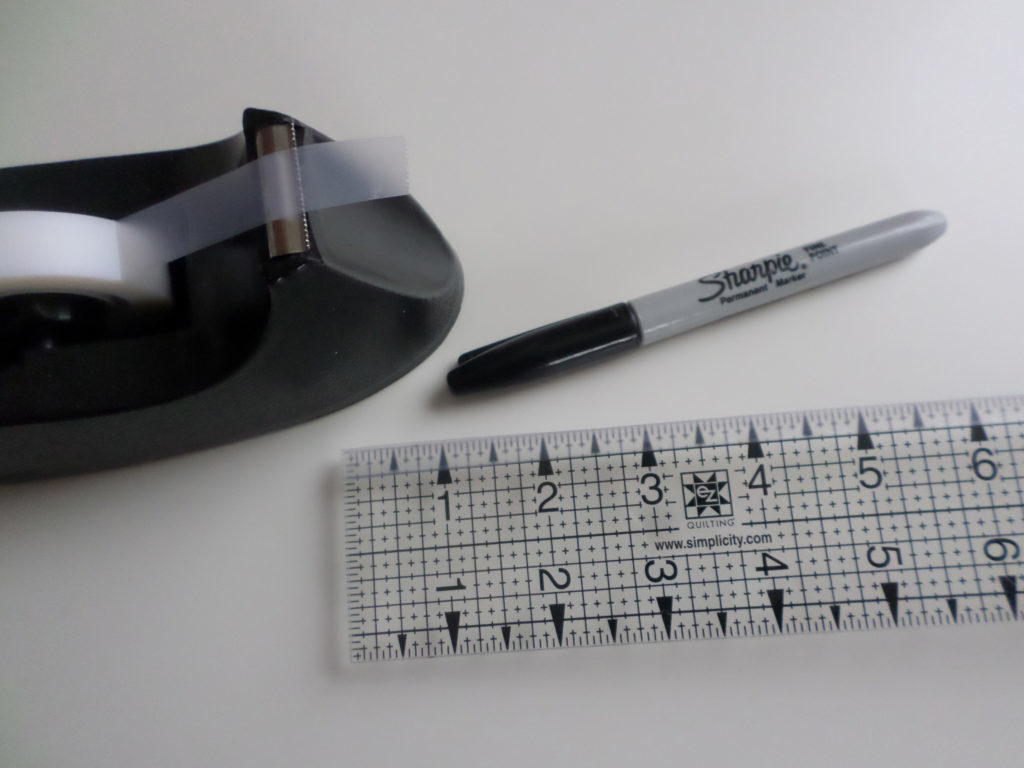
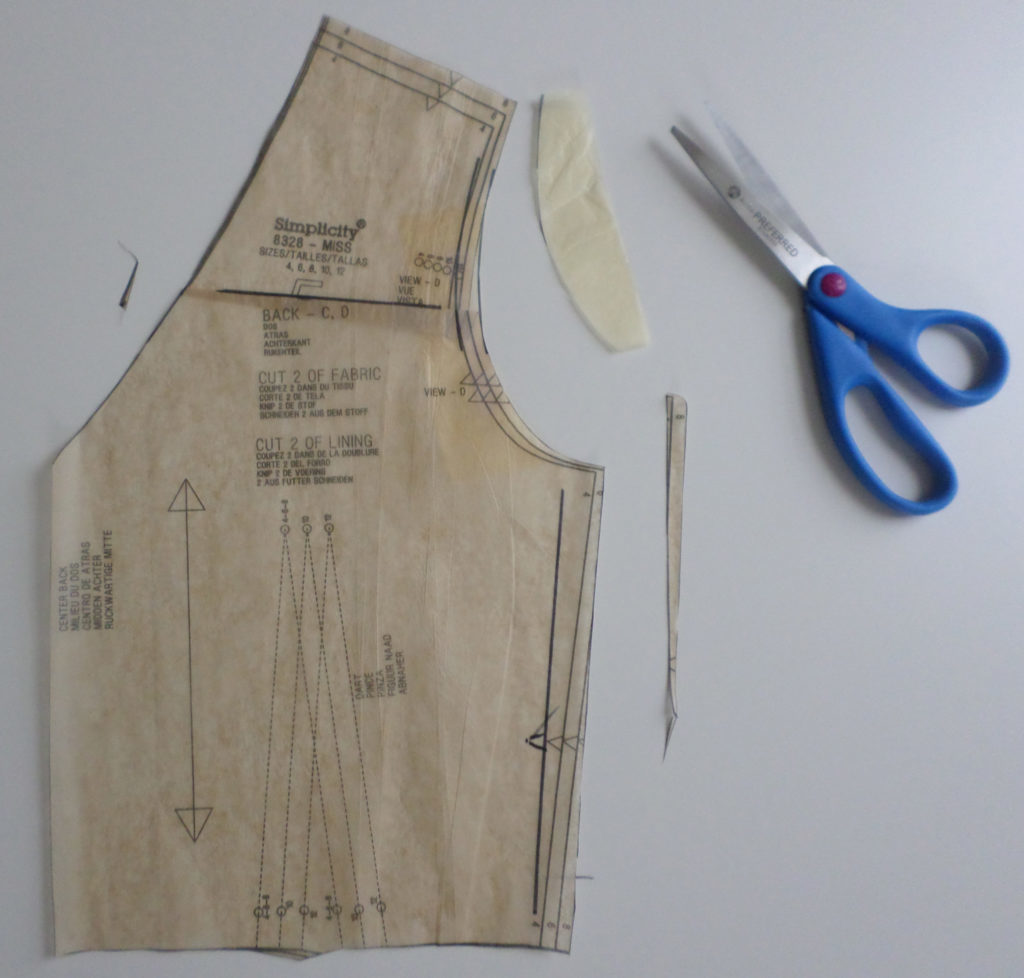
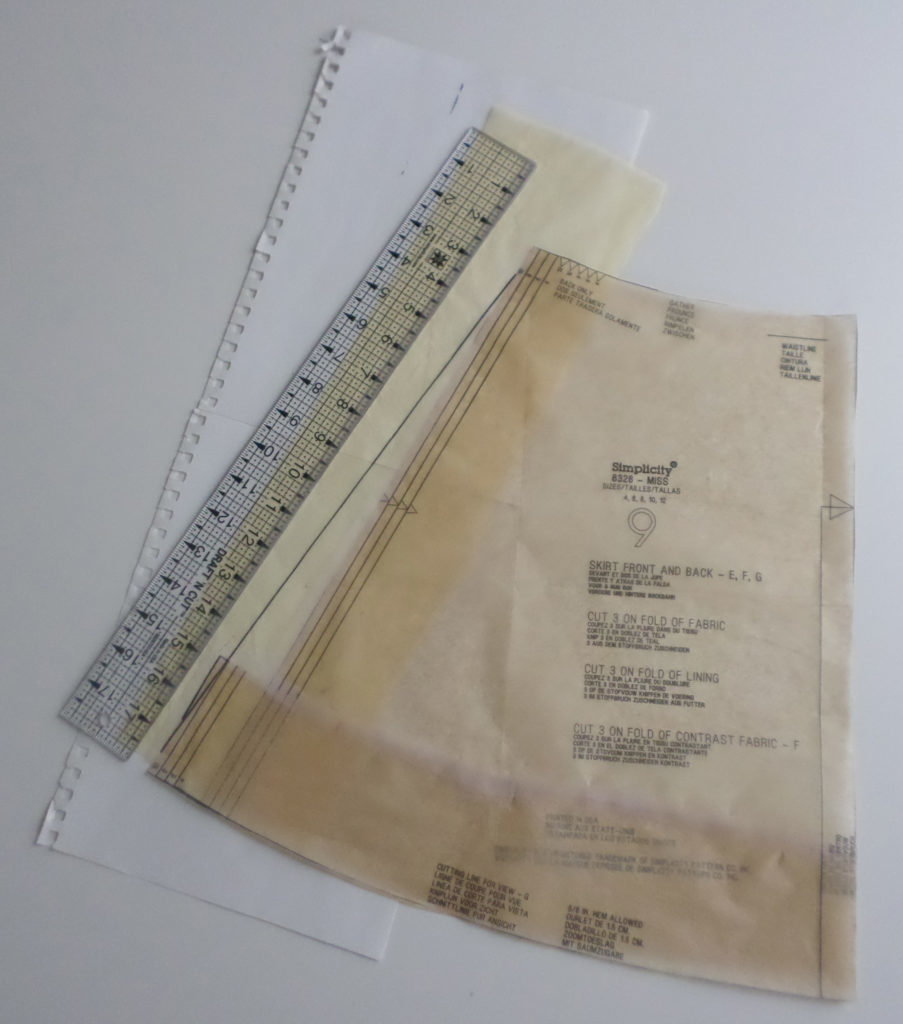
Gather your tools and supplies
You’ll need your pinned muslin, your pattern pieces, a red marker and a black marker, a seam ripper, a ruler or rulers (I keep a few handy – a 1-inch by 6-inch clear ruler, a 2-inch by 18-inch clear ruler, and a French curve), scissors (I use sharp embroidery scissors and paper scissors), and transparent tape.
Note: If you are adding length or circumference to a pattern, you will also need pattern paper to fill in your pattern.
You want to work on a clean worksurface with room for full pattern pieces.
Get started
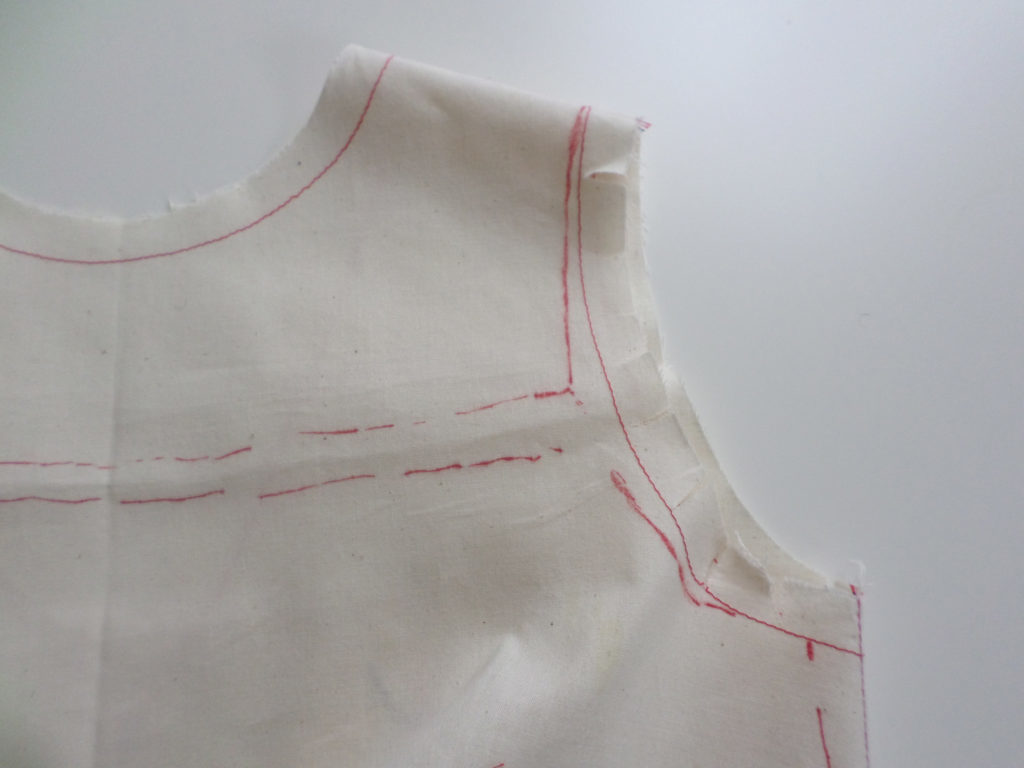
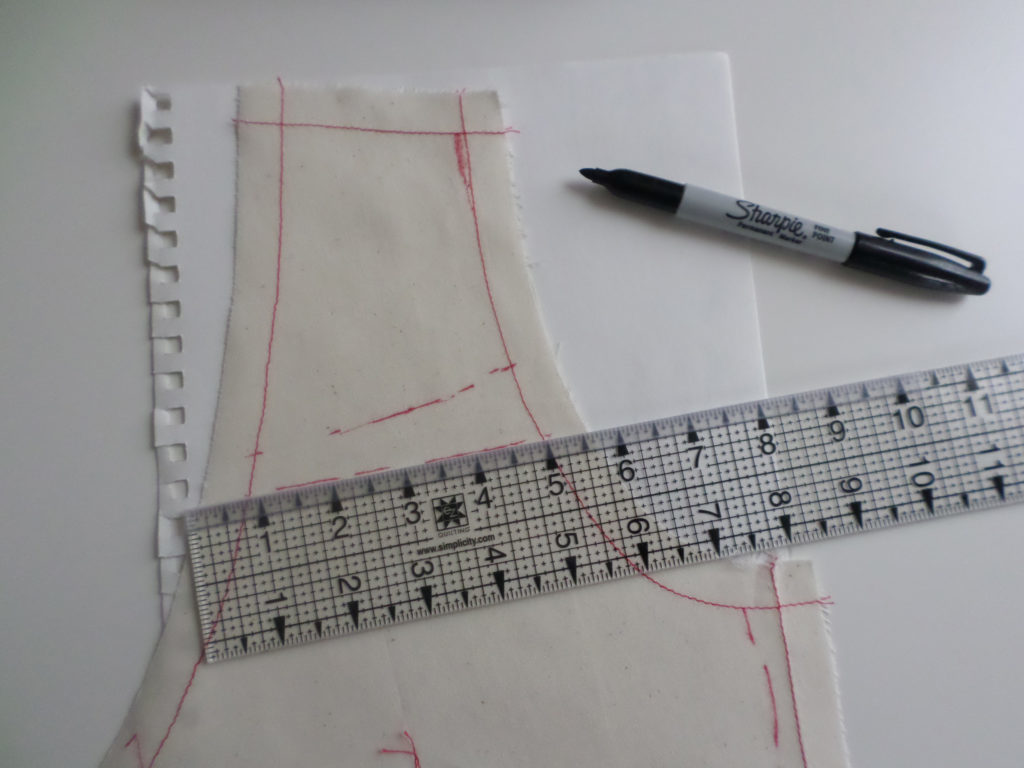
Use the red marker to mark your pinned changes.
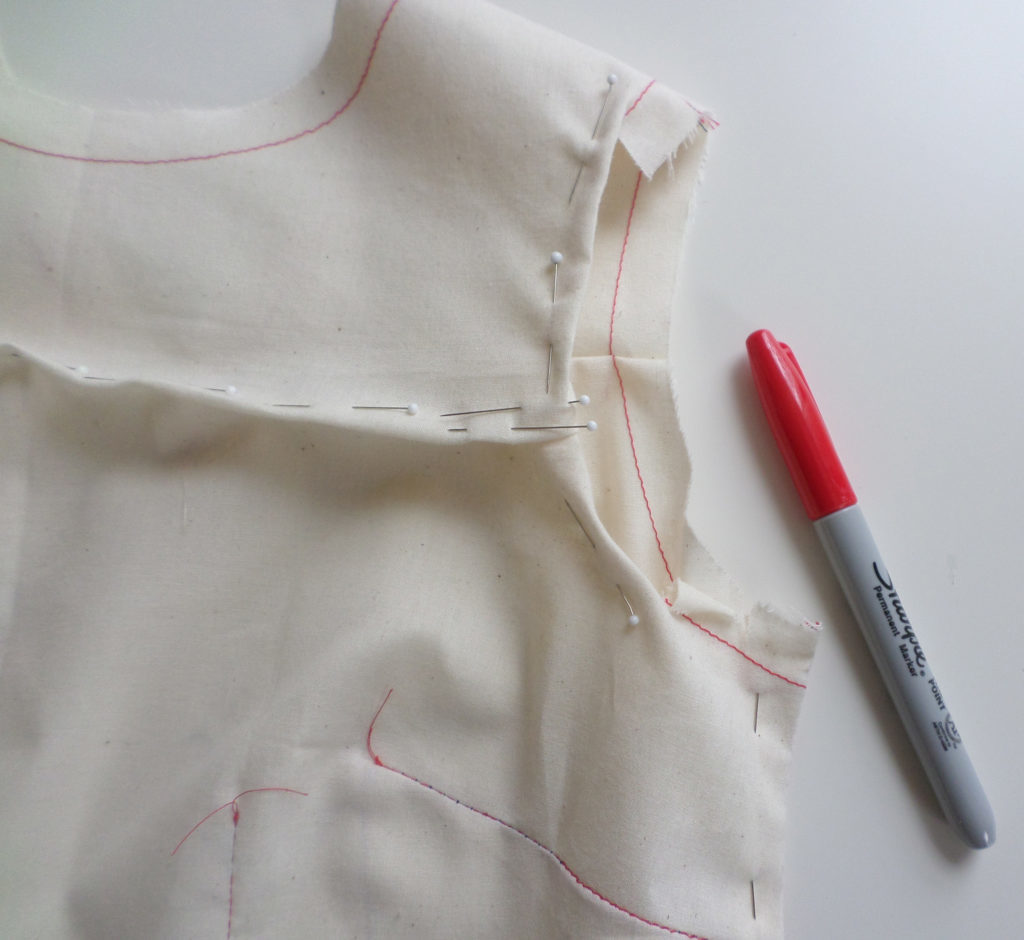
If you pinned out a fold, use the red marker to mark the extent of the fold on both sides. Mark from pin to pin. If you pinned in or out a new edge, trace the new edge. Do it lightly, and just average the distance between the pins. Don’t remove any pins until you have traced the folds on the whole garment.
Once you have carefully marked all the changes, take out the pins. Check your marks, and sketch in anywhere you may have missed. It is perfectly fine for there to be brief gaps in the lines – we are going to fill in and refine these lines.
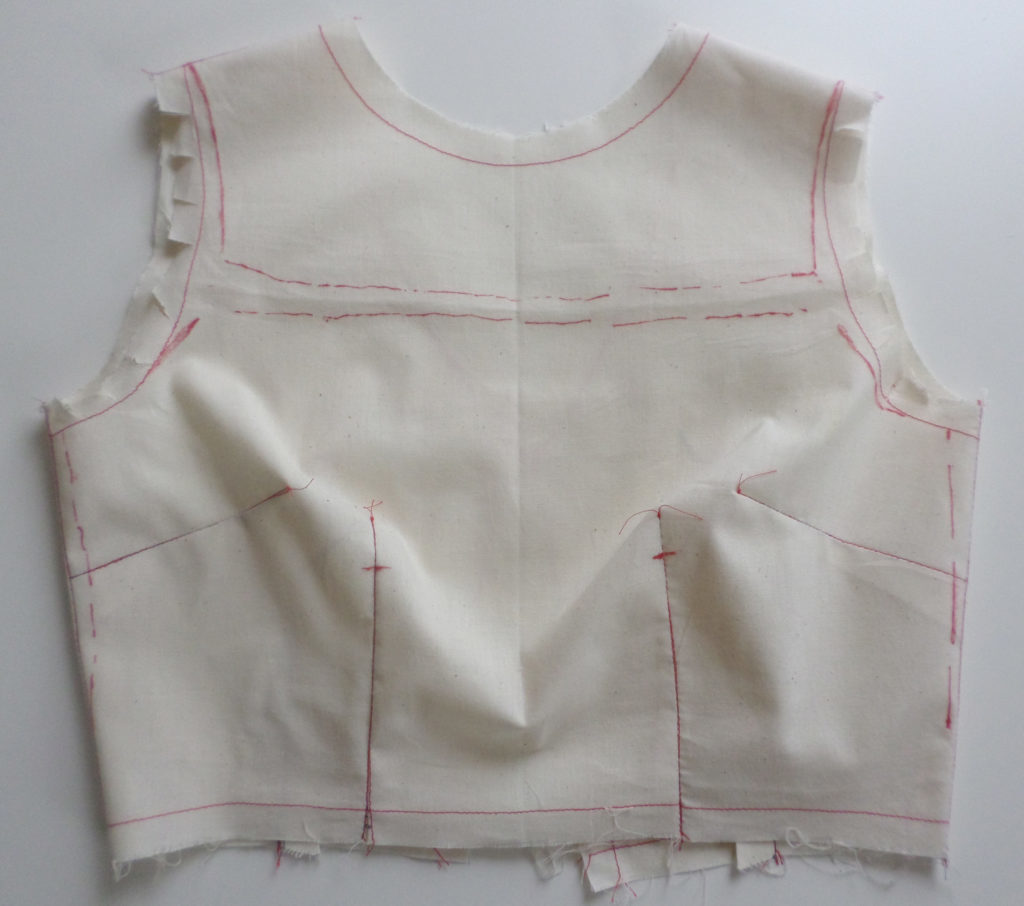
I pressed my muslin so you could see some of the marks clearly, but you should handle your muslin as little and as gently as possible, and wait until it is disassembled to press the pieces.
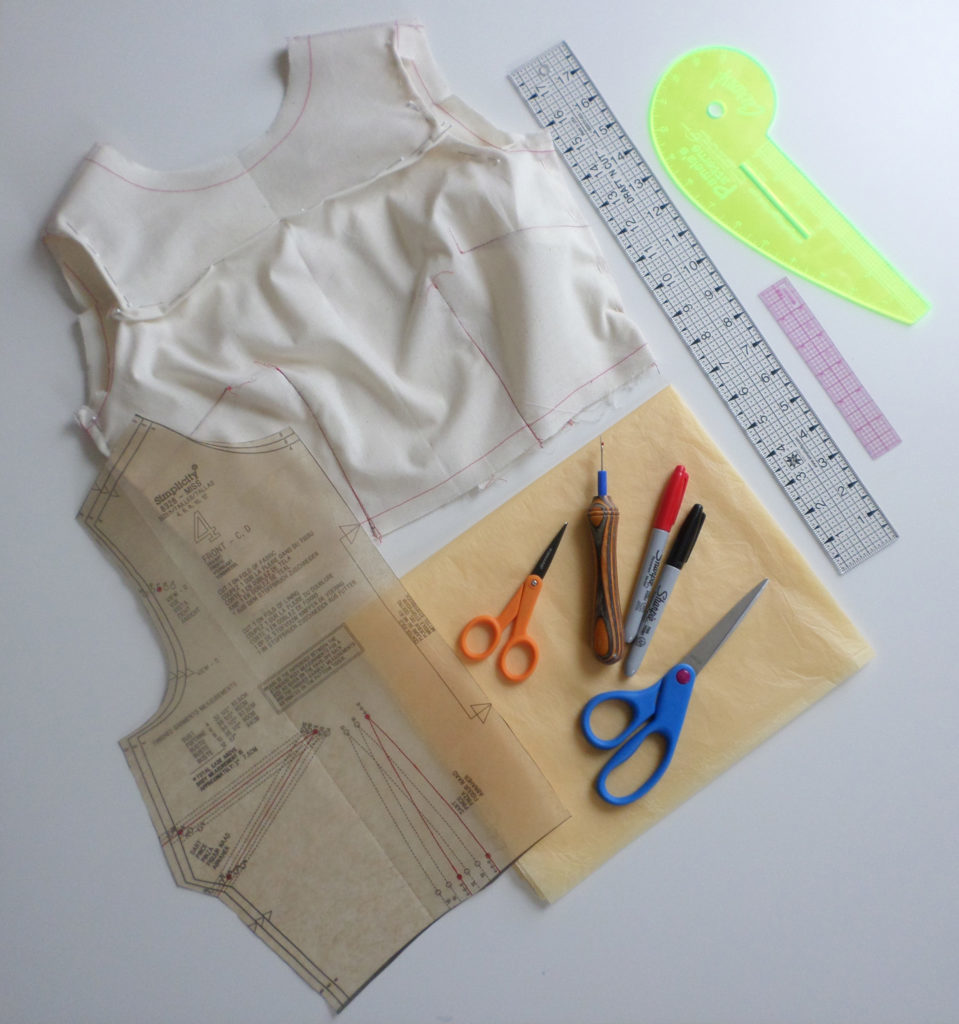
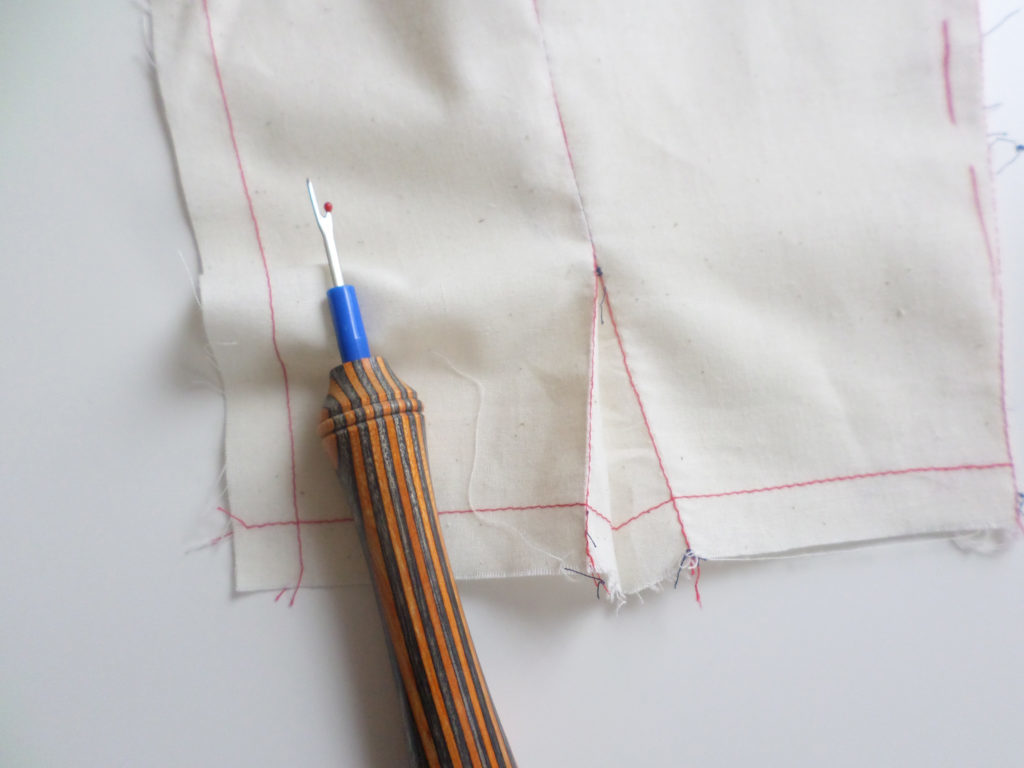
Disassemble your marked muslin. Use a seam ripper and/or sharp embroidery scissors to carefully take the muslin apart.
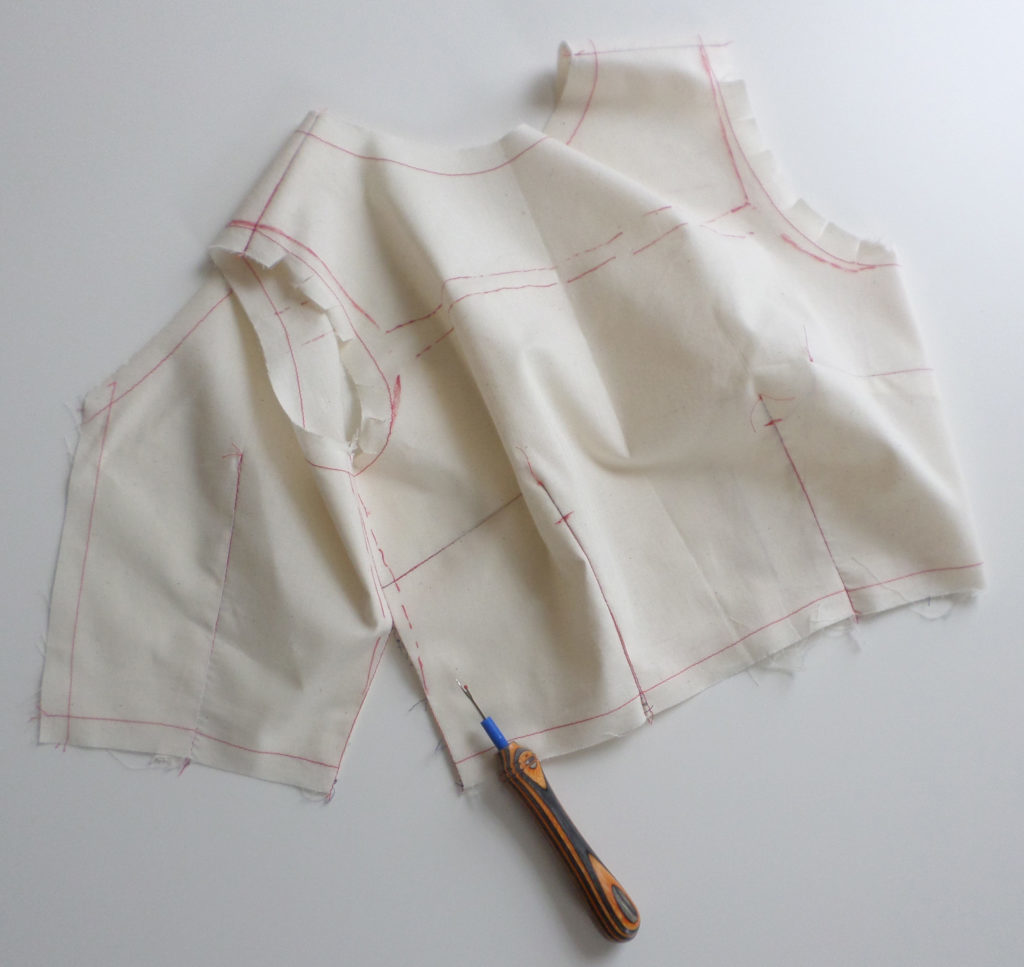
Unpick the darts.
Now press the pieces, handling them gently to prevent distortion.
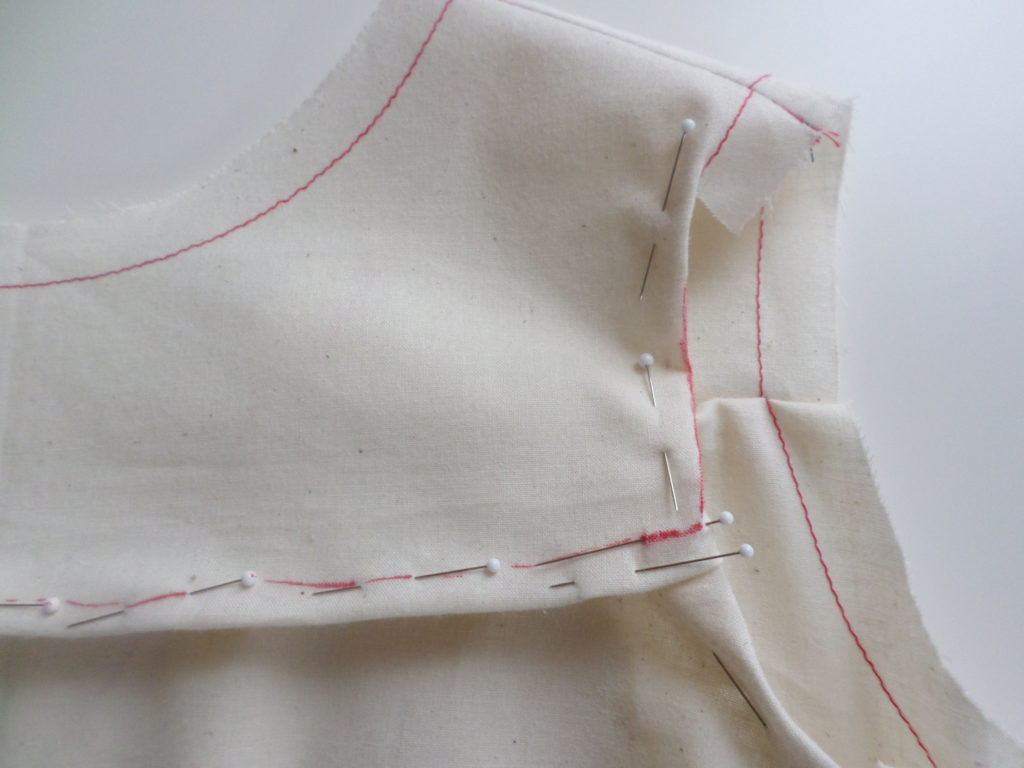
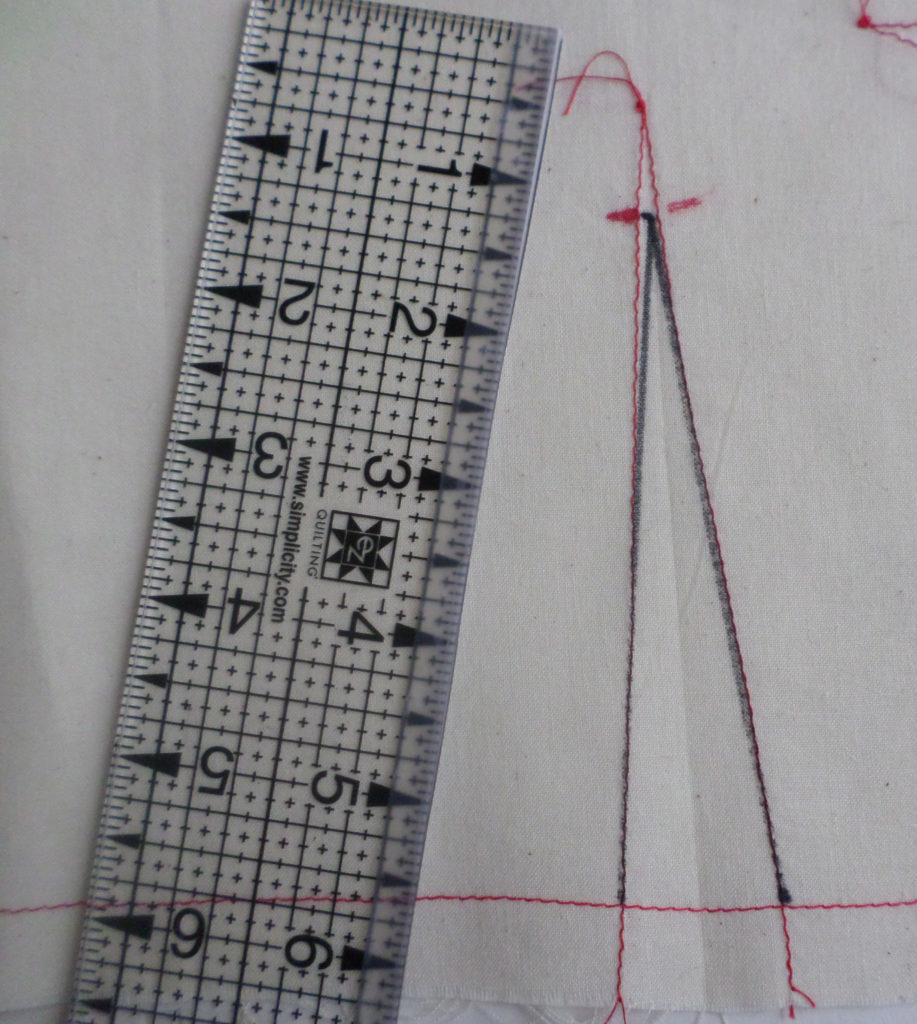
Next, “true” the sketched lines. Truing is the process of smoothing seamlines and cutting lines on patterns after they’ve been adjusted. Take your black marker and your ruler or French curve, and redraw the red adjustment lines. Even out any jogs in the lines, bridge gaps, and finish lines where necessary.
I like to use Sharpies because they mark clearly and they don’t bleed when you iron them. But they will mark your ruler and worksurface if you aren’t careful. Here are two tips: First, put transparent tape over the ruler’s edge.
Second, to protect your worksurface, slide a sheet of sketch paper or a manila folder under the piece you are marking.
Transfer changes to the pattern
Place the corresponding pattern piece over the marked muslin. (In this instance, I had to flip the muslin to correspond to the pattern piece, but you will notice the Sharpie marks show up through the muslin.) Trace the changes onto the pattern piece.
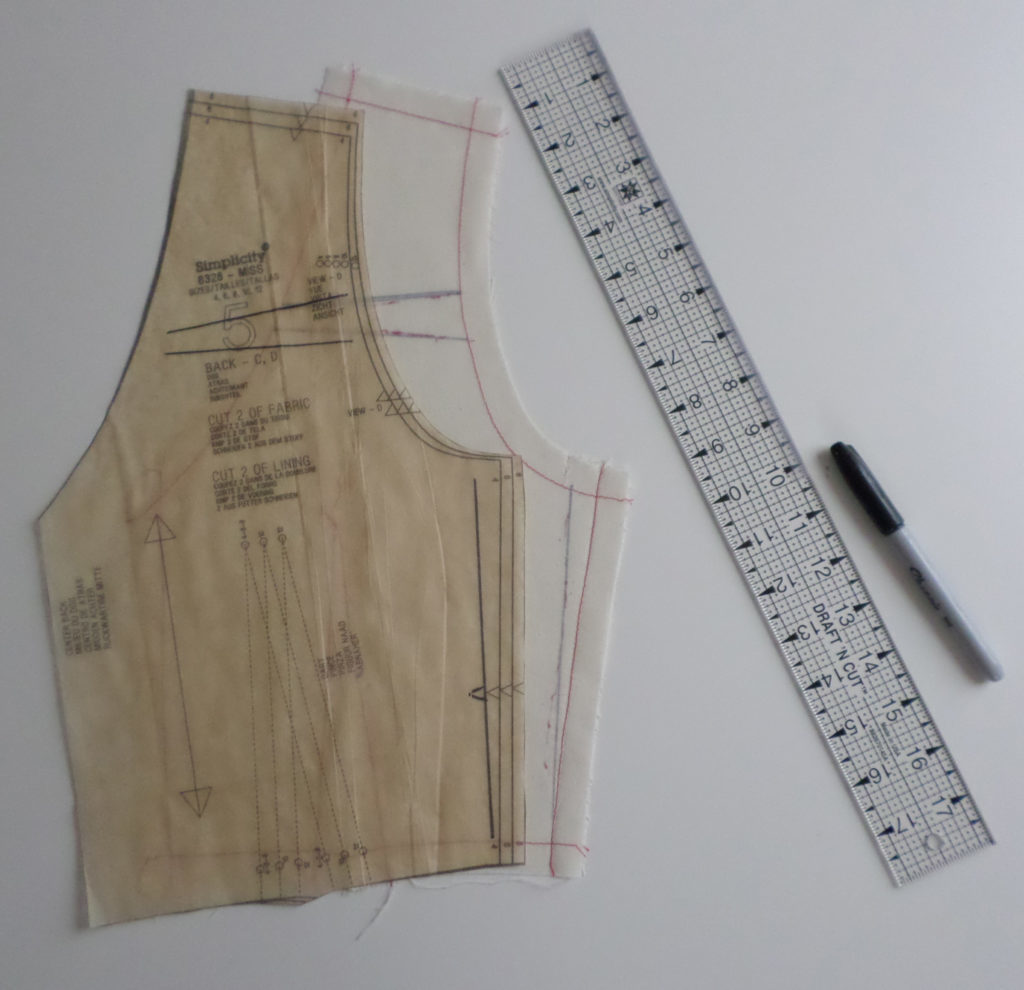
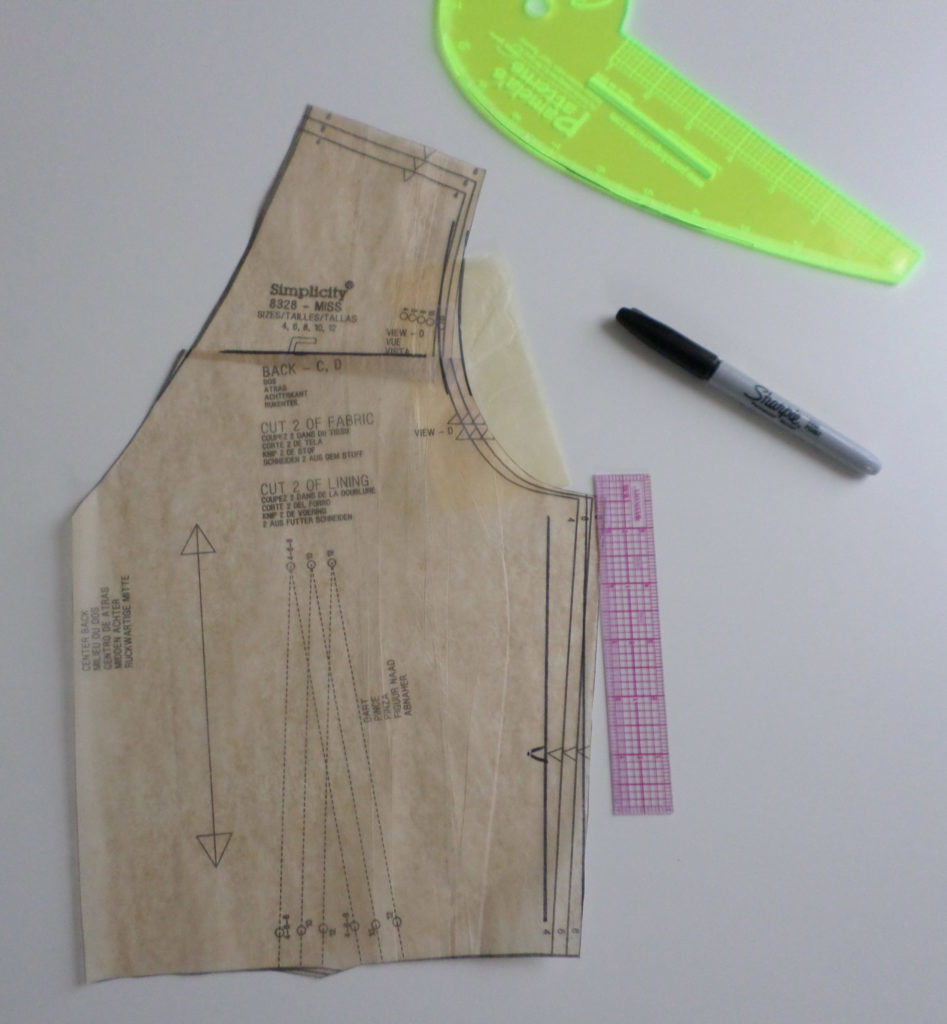
Cut apart or fold the pattern at the markings. Press and tape the pattern back together. Then finish truing, and trim or fill in with pattern paper to complete the pattern.
Don’t forget to mark changes that don’t affect the shape of the pattern piece. For example, we shortened the waist darts on the front of Simplicity SewStylish 8328 view C top. I marked the new dart end point on the muslin and redrew the dart legs to meet it. I copied this change to the pattern, too.
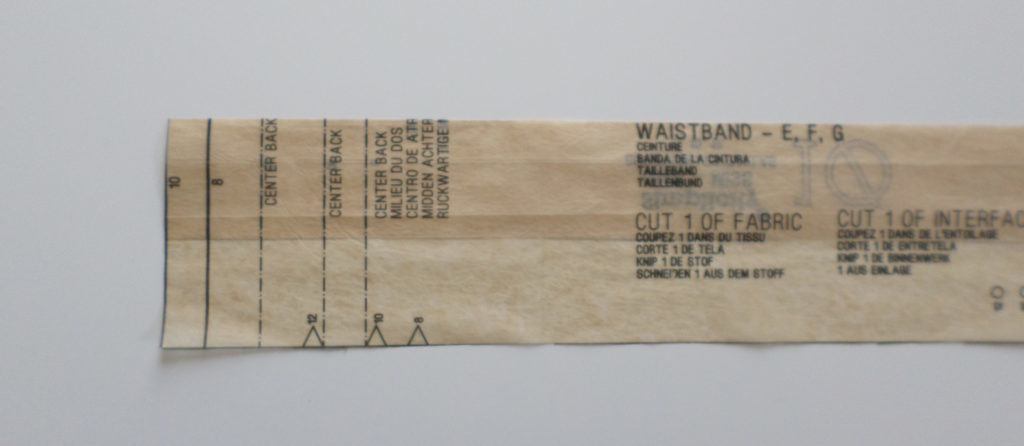
Make the waistband narrower
We decided during the fitting to narrow the skirt waistband by half. That is going to be easy, because the waistband is a rectangle.
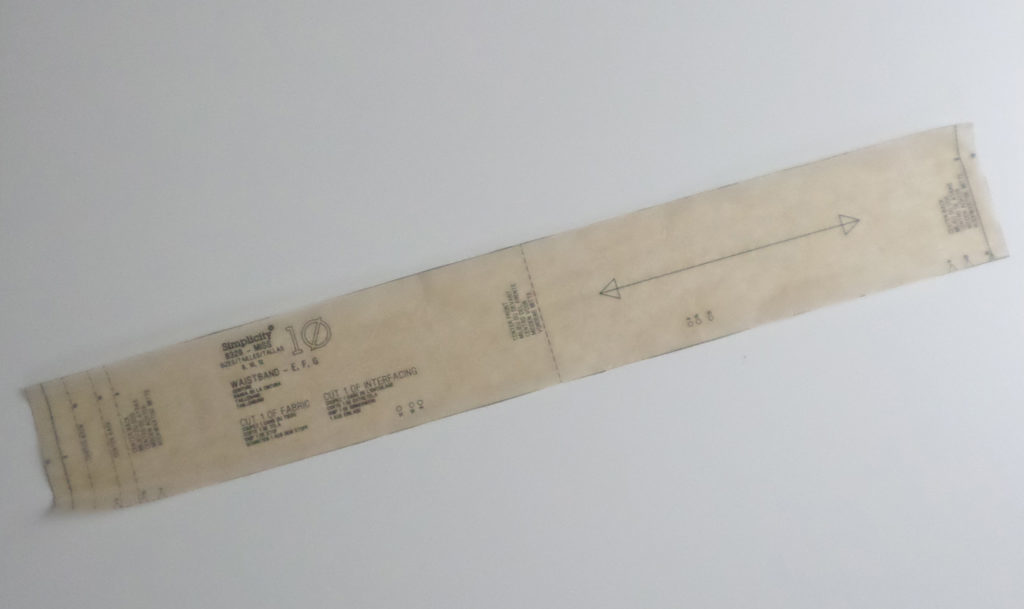
Fold the straight waistband lengthwise to reduce the width. You don’t need to trim it if you don’t want to, because all the markings are on one long edge and you can fold it so that they are visible. The waistband length doesn’t change in this case.
To reduce the finished width, you need to fold out width but keep two seam allowances. Just folding the pattern in half will eliminate a seam allowance along with half the waistband width. I measured the amount I wanted to eliminate – about 1/2 inch – doubled it to reflect the outer and inner waistband layers, then folded that amount under along one long edge of the waistband pattern piece.
Change the skirt length, but keep the fullness
We are going to shorten the skirt, but I don’t want to lose the skirt fullness or the nice curved hem, so I am going to use a technique to shorten the pattern that will retain the current full hem.
The skirt pattern piece is cut on the fold. Mark the cut-on-fold edge at the new skirt length, including the waist seam allowance and the hem allowance. In this case, both are 5/8 inch and I want the skirt to be almost 15 inches long, so I’ll mark it at 16 inches.
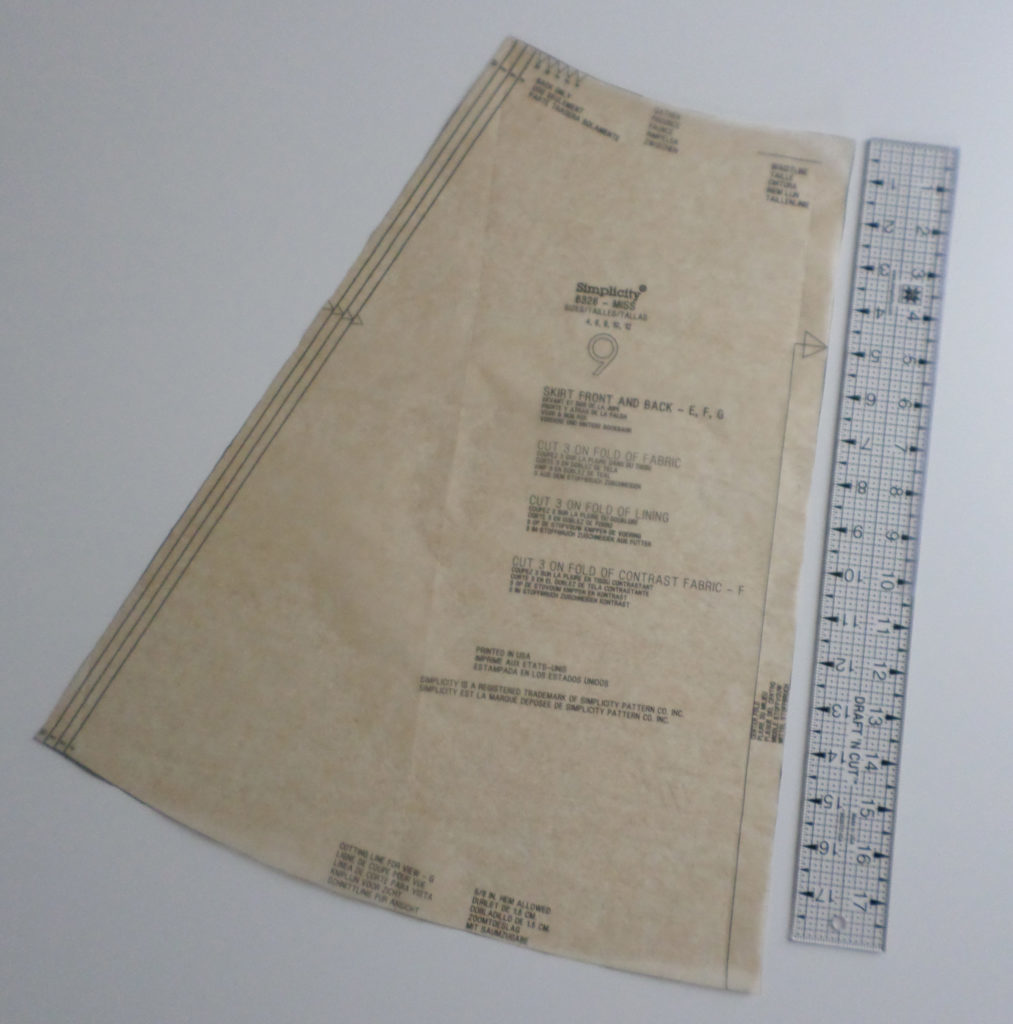
Mark the seam edge of the skirt pattern piece at the same length.

Trim the skirt pattern piece below the 16-inch marks. Try to stay parallel to the curved hemline, but don’t worry if you’re a bit off. Separate the pieces.
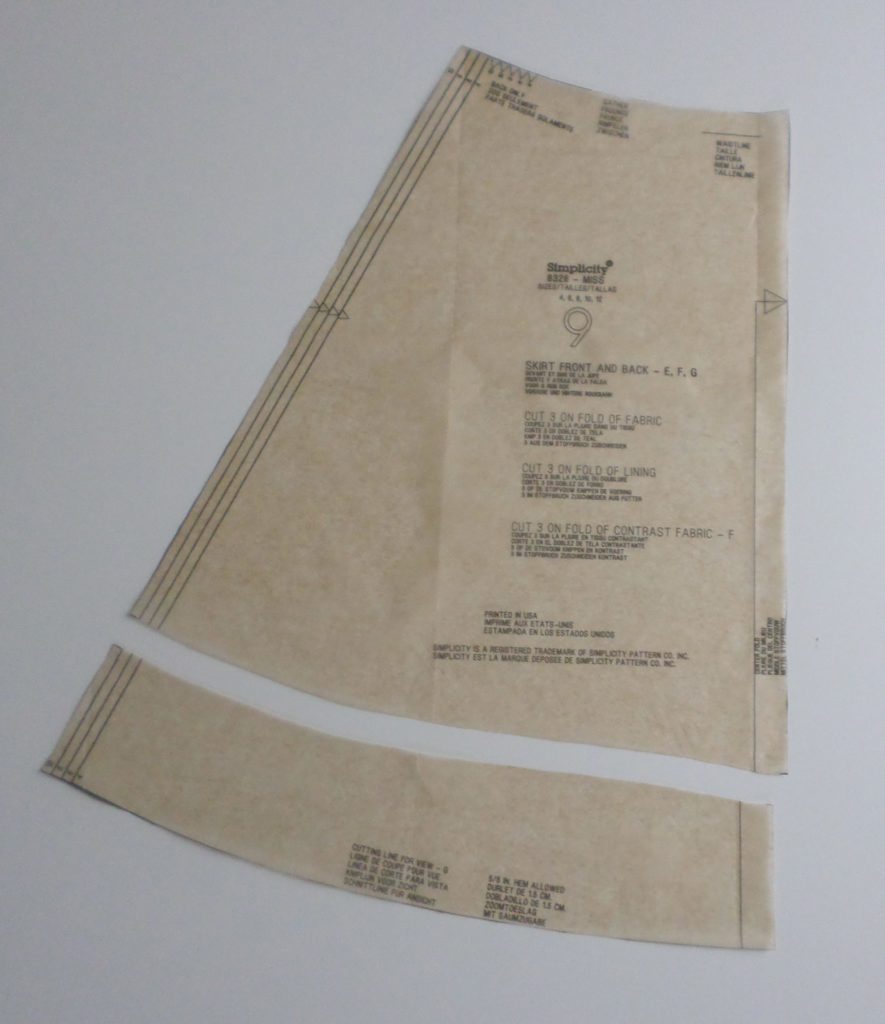
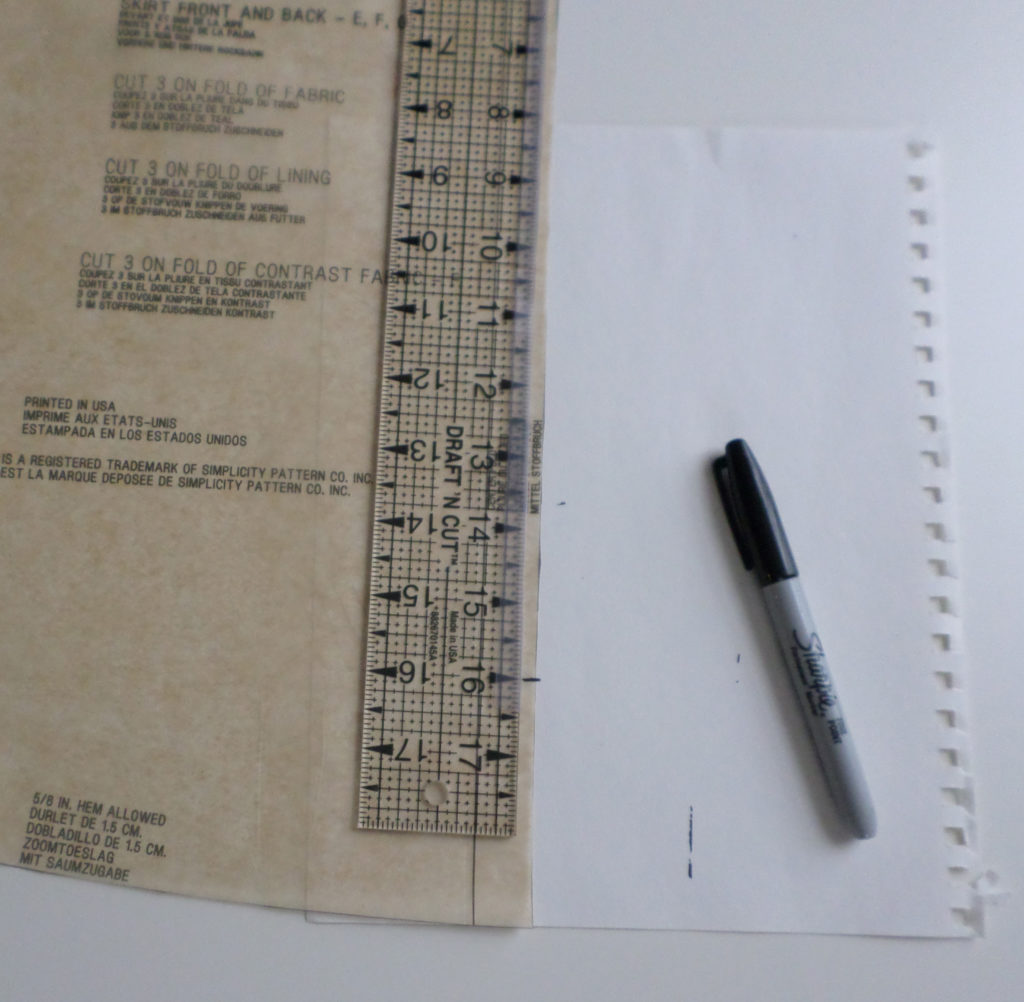
Next, tape the hem piece, aligning the cut-on-fold edge to the skirt at the 16-inch hemline. Tape the hem piece so that the hemline at the seam edge also hits the 16-inch mark. The hem piece will extend beyond the seam edge.
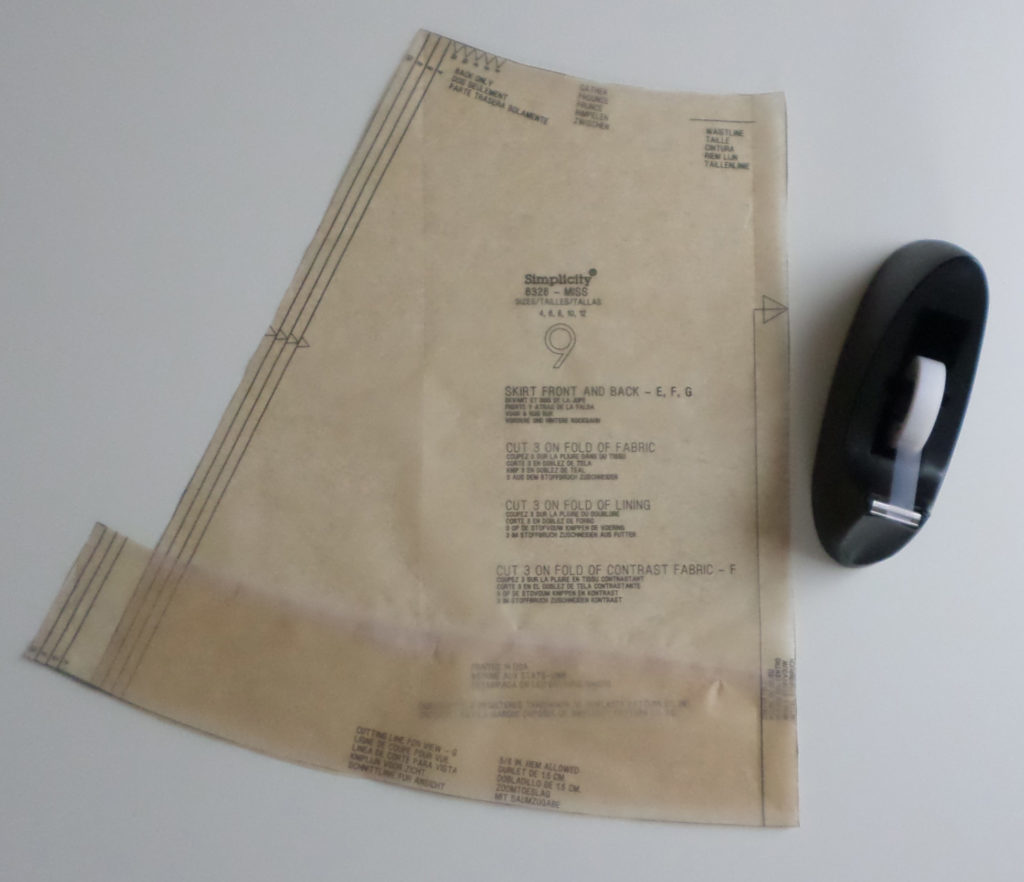
Tape a piece of pattern paper in place, then draw a new seam edge to include the greater hemline circumference.
All set! The shorter skirt will still be full.

Stay tuned for our next post, when we start putting the “sew” into this sew-along! It all starts with the bodice darts.
Love this post. Even though I’ve been sewing for over 40 years, you never to advanced to learn the new methods. I have to alter my clothe around my shoulders and chest all the time but it still gabs. very frustrating
Peggy Sagers at Silhouette patterns has great B, C, D cup patterns, with all in one pattern sleeve. I suggest you check her website out. She also has free webinars on Monday evenings that are instructional, and she answers questions in real time.
Love your instruction,I can follow with all easy. Thank you for lesson.
Fabulous information. Thank you.
The fitting process has always escaped me. The Sew Along episodes have done wonders for me in clearly showing the “how to”. Would love to see more of even more difficult adjustments such as lowering the bust point in a bodice particularly truing the princess seam also pants adjustments.
Thank you for this free lesson.
I wish I could have had a Nexus Tablet 30 years ago and viewed what is on this free information video.
First class presentation to encourage new sewing masters.
It is a wonderful way to reach out to house bound people who love to sew.
Threads Magazine Subscriber for many, many years.
Thank you.
Thank you.
Thank you so much. You read and hear all the time about using the muslin to mark changes, but you rarely are told how to transfer the changes to the pattern itself. Much appreciated.
Great instruction. The step by step process with video and tips is great. I, too, would like to see pants fitting. I have trouble getting the back of the pants legs to drape correctly. I have read some suggestions, but have not been able to get them to work for me.
Thank you for a great job.
I am new to dressmaking and find it all very confusing, but this was very clear and simple, Thank you 🙂
love this and I had to share it!
These instructions have done wonders for my sewing. Thank you so much.
Thank you for the helpful tips, especially the one about drawing the side of the skirt to match the original hem line.
You’re welcome, Gayle! It makes such a difference in the skirt’s look. You don’t want to lose that cute fullness on this skirt. –
Sarah Mc
Great information. I love designing but learning how to properly fit a pattern has always been a challenge for me. Would it be possible to do something with a yoke. I have a curvy body.
Thanks for sharing